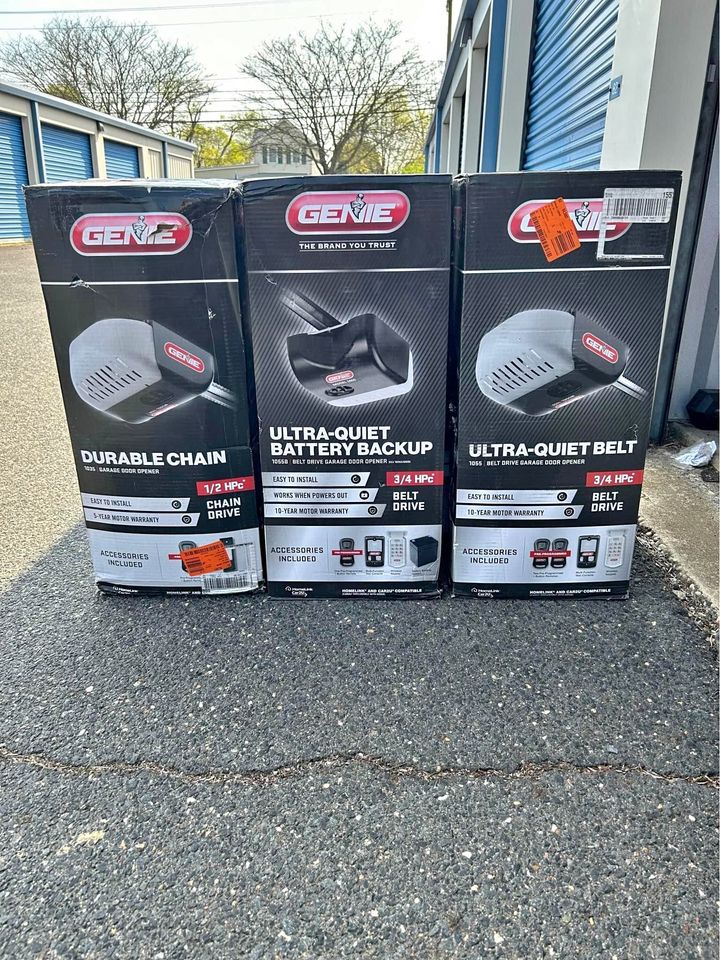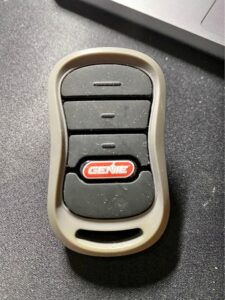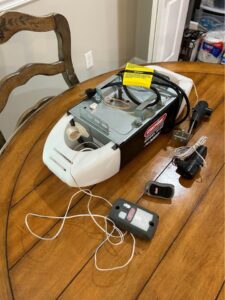
If you’re a DIY enthusiast or a homeowner looking to enhance the convenience and security of your home, you’ve come to the right place. In this blog post, we’ll walk you through the process of installing and programming a Genie garage door opener, focusing on the benefits of using keypads for added security.
Gone are the days of manually lifting heavy garage doors or fumbling with keys. Garage door openers have revolutionized the way we access our garages, offering a host of advantages that make our lives easier. With the simple touch of a button, you can effortlessly open and close your garage door, saving you time and effort. And when it comes to security, Genie garage door openers with keypads take it a step further.
Imagine a scenario where you need to grant access to your home to a babysitter, a friend, or a contractor. Instead of handing them a physical key that can be easily lost or copied, you can provide them with a unique key code that can be changed whenever you desire, at no extra cost. This added level of security ensures that only authorized individuals can enter your home, giving you peace of mind.
Whether you’re a dedicated DIYer who loves tackling home improvement projects or a homeowner looking to enhance the functionality and security of your garage, this blog post is tailored to you. We’ll provide step-by-step instructions and valuable insights to help you successfully install and program your Genie garage door opener, ensuring a smooth and hassle-free experience.
Why Install a Genie Garage Door Opener
When it comes to the safety and convenience of your home, installing a garage door opener is a smart choice. Not only does it eliminate the physical strain of manually opening and closing your garage door, but it also provides enhanced security and peace of mind. The good news is that installing a Genie garage door opener is a budget-friendly and relatively easy process that yields significant benefits.
One of the standout features of Genie garage door openers is their suitability for various weather conditions. Whether you live in an area with scorching summers, freezing winters, or unpredictable weather patterns, Genie openers are designed to withstand the elements. This means you can rely on your Genie opener to function flawlessly, ensuring the smooth operation of your garage door regardless of the weather outside.
What sets Genie openers apart, particularly those with keypads, is their ability to provide an added layer of convenience and security. Instead of relying on traditional keys that can be easily misplaced, lost, or duplicated, keypads offer a more sophisticated and secure method of granting access to your home. By assigning a unique key code to family members, friends, or service providers, you can control who has access to your garage without the need for physical keys. The best part is that you can easily change the code whenever necessary, providing you with flexibility and peace of mind.
Not only does using keypads eliminate the risk of unauthorized access, but it also offers convenience when it comes to sharing access with others. Whether you need to give temporary access to a babysitter, a house cleaner, or a contractor, you can simply provide them with the designated key code. This eliminates the need for handing out physical keys and worrying about their return or potential misuse. Additionally, if someone no longer requires access, you can easily change the code, ensuring the security of your home remains intact.
Programming a Genie Garage Door Opener Remote

To fully utilize the features of your Genie garage door opener, it is essential to program the remote control properly. Whether you need to replace an existing remote or perform a DIY installation, programming the remote is a straightforward process. Here, we will provide you with step-by-step instructions to program your Genie remote control and ensure seamless operation.
Compatible Genie Garage Door Opener Models:
Before we dive into the programming process, it’s important to note that the following instructions apply to Genie garage door openers with specific models. These models include:
- PowerMax
- SilentMax
- ChainMax
- PowerLift
- TriloG
- IntelliG
- GPower
If you have a different type of Genie opener, we recommend referring to the remote control and keypad programming instructions in your owner’s manual for accurate guidance.
Step-by-Step Programming Process
Press and hold the square PRGM/SET button on your Genie opener for two seconds. As you do this, the small, round LED light will turn blue, followed by the long LED light flashing purple.
Stand at least five feet away from the opener and slowly press and release the button on the remote control that you wish to program. Repeat this action of slowly pressing and releasing the button. As you do so, both LED lights on the opener will flash and then turn off, indicating successful programming of the remote.
Once you have completed the programming process, it is crucial to test your remote. Press the button on the remote control, and the garage door should respond by opening or closing accordingly.
Each step should be completed within 30 seconds. If the LED lights on the opener flash red, it indicates that the time limit has been exceeded, and you will need to repeat the step.
It’s worth mentioning that remote controls that come included with a Genie opener are already programmed and ready for use upon installation. The programming instructions provided above are intended for remote controls that have been purchased separately or require reprogramming.
Follow Instructions and Testing
To ensure the successful programming of your Genie remote control, it is crucial to follow the instructions carefully. Pay close attention to the timing and sequence of each step. Additionally, it is highly recommended to test the remote control afterward by operating the garage door. This will verify that the programming was completed correctly and that the remote control is functioning as expected.
By programming your Genie remote control properly, you can enjoy the convenience of operating your garage door with ease. Remember to consult your specific Genie opener model’s owner’s manual for any additional troubleshooting advice or contact a professional garage door technician if you encounter any difficulties. Now that you have successfully programmed your remote control, let’s move on to programming a Genie keypad for even more functionality and convenience.
Programming Instructions for Genie Keypad
In addition to programming a Genie remote control, you can enhance the functionality and convenience of your Genie garage door opener by linking a Genie keypad. With a keypad, you can easily enter a unique PIN to open and close your garage door without the need for a traditional key or remote. The following step-by-step instructions will guide you through the process of programming a Genie keypad for your single garage door. Please note that instructions may vary if you have multiple garage doors.
Instructions for Single Garage Door
- Locate the “Learn” or “Program” button on your Genie garage door opener. It is typically a square-shaped button and can be found near the up and down travel buttons.
- Press and release the “Learn” or “Program” button on the opener. The LED light on the opener will start to blink, indicating that it is ready for programming.
- On the keypad, enter your desired personal identification number (PIN) using the numbered keys. The PIN can be any combination of digits that you can easily remember.
- Press and hold the “Program” or “Enter” button on the keypad until the LED light on the opener stops blinking and remains steady. This action links the keypad to the opener.
- Test the functionality of the keypad by entering your PIN and pressing the “Enter” button. The garage door should respond by opening or closing accordingly.
Programming Instructions for Multiple Garage Doors
If you have multiple garage doors and wish to link the keypad to a specific door, you will need to follow additional steps. These steps may vary depending on the model of your Genie keypad and opener. It is important to consult the instruction manual specific to your keypad model for accurate programming instructions. Generally, the process involves selecting a button on the keypad to assign it to a particular garage door opener, followed by entering the PIN and pairing it with the opener.
Setting a PIN and Pairing with the Opener
- Decide on a unique PIN for the keypad that you can easily remember.
- Follow the keypad manufacturer’s instructions to enter the programming mode. This usually involves pressing a specific sequence of buttons or holding down a combination of buttons.
- Once in programming mode, enter your desired PIN using the numbered keys on the keypad.
- Press the “Enter” or “Program” button on the keypad to confirm the PIN.
- Next, locate the “Learn” or “Program” button on your Genie opener and press it. The LED light on the opener will start to blink.
- Within a specified timeframe, enter your PIN on the keypad and press the “Enter” button. This action pairs the keypad with the opener.
- Test the keypad by entering your PIN and pressing the “Enter” button. The garage door should respond accordingly.
Programming Instructions for Genie Wall Console

The Genie wall console provides a convenient way to operate your Genie garage door opener from inside your garage. Programming the wall console is a straightforward process that allows you to sync it with your garage door opener and enjoy easy access to opening and closing your garage door. Follow these steps to program your Genie wall console:
Programming a Genie wall console is a simple task that can be completed in just a few easy steps. With its user-friendly interface, the wall console allows you to control your garage door opener effortlessly from the comfort of your garage. Let’s walk through the programming process:
- Locate the “Program” button on your Genie wall console. It is typically located near the bottom of the console, close to the open and close buttons.
- Press and hold the “Program” button for a few seconds until the LED light on the console starts to blink. This indicates that the console is in programming mode.
- Within a specified timeframe (usually 30 seconds), go to your Genie garage door opener and locate the “Learn” or “Program” button. Press and release this button.
- Return to the wall console and press the desired button you want to assign for opening and closing the garage door. The most commonly used buttons are the up and down arrow buttons or the open and close buttons. Press and hold the selected button until the LED light on the wall console stops blinking and remains steady.
- Test the functionality of the wall console by pressing the programmed button. The garage door should respond by opening or closing accordingly.
If you have multiple garage doors and want to program the wall console to operate a specific door, consult the instruction manual for your Genie garage door opener. The manual will provide specific instructions for programming the wall console to work with multiple doors.
Common Problems and Troubleshooting Genie Garage Door Opener

While Genie garage door openers are known for their reliability and performance, it is possible to encounter occasional issues that may affect their operation. Understanding common problems and having troubleshooting tips at hand can help you quickly resolve any concerns. Here are some common problems you may encounter with your Genie garage door opener and troubleshooting tips to address them:
Remote Control and Keypad Issues
- Ensure that the remote control or keypad has fresh batteries installed.
- Check for any obstructions between the remote control or keypad and the opener. Clear away any objects that may interfere with the signal.
- Reprogram the remote control or keypad following the instructions provided in the owner’s manual.
- If multiple remotes are not working, try reprogramming them one at a time to identify and resolve any programming conflicts.
- For keypads, double-check that the PIN has been entered correctly and try reprogramming it if necessary.
Unresponsive Opener
- Verify that the opener is properly connected to a power source. Check the power cord and ensure it is securely plugged in.
- Look for any tripped circuit breakers or blown fuses in the electrical panel and reset or replace them as needed.
- Inspect the safety sensors located near the bottom of the garage door tracks. Ensure they are properly aligned and free from any dirt or obstructions.
- Check the garage door’s manual release mechanism to ensure it is not engaged, as this can prevent the opener from operating.
Malfunctions
- If the garage door opens partially and then reverses, adjust the open and close force settings on the opener. Consult the owner’s manual for instructions on adjusting these settings.
- Lubricate the moving parts of the garage door, such as hinges, rollers, and tracks, to ensure smooth operation. Use a silicone-based lubricant for best results.
- Inspect the garage door for any damaged or broken components, such as springs or cables. If you notice any significant damage, it is recommended to seek professional assistance for repair or replacement.
- Remember, attempting complex repairs without proper knowledge and experience may pose risks to your safety and could potentially cause further damage to the opener or garage door. Seeking professional help is the best course of action when in doubt or when dealing with intricate problems.
Conclusion
By installing a Genie garage door opener, you can enjoy the convenience of effortlessly opening and closing your garage door, especially during harsh weather conditions. The added security provided by keypads allows you to grant access to others without sharing traditional keys, providing peace of mind and easy control over who can enter your home.
When programming your Genie remote control, keypad, or wall console, it’s crucial to follow the instructions carefully and test the functionality afterward. Take advantage of the compatibility between Genie openers and remotes to choose the right equipment for your specific model. We’ve posted a guide also on how to Program a Chamberlain Garage Door Opener if you want to compare the two brands.
However, if you encounter any issues along the way, don’t worry. We’ve also provided troubleshooting tips for common problems such as remote control and keypad issues, unresponsive openers, and malfunctions. Remember to prioritize safety, consult the owner’s manual for model-specific guidance, and seek professional assistance if needed.
Last Updated on June 30, 2023

Dustin Hopkins has over 12 years in the cleaning industry, working in the past for one of the top 5 cleaning companies in the US. Currently, he is the chief editor of CleaningRank.com and the proud father of a 5-year-old, Chris.
